Cabinets transform kitchens and storage spaces — but only when they’re fitted correctly. A neat, level cabinet not only looks professional but works smoothly for years. This post walks you through measurement, installation, alignment, and small fixes that make a big difference.
Measure & Prepare
Start by checking walls and floor for plumb and level. Measure twice: note heights (standard counter height ~900 mm, but adapt for users), wall studs, and any obstructions (sockets, pipes). Assemble the carcass and dry-fit it into place before final fastening.
Secure & Level
Mount cabinets to studs or use strong masonry anchors. Use a ledger or temporary support to hold the cabinet while you screw it in. Shim behind the cabinet until it’s perfectly level front-to-back and side-to-side. Fasten through the rear rail into studs with long screws.
Doors, Drawers & Gaps
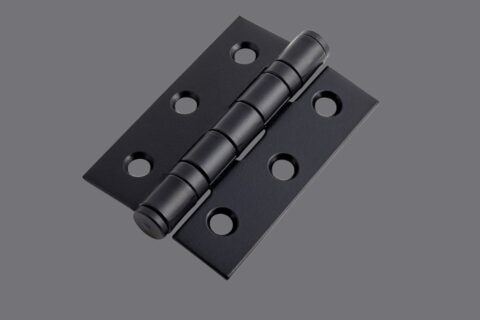
Even gaps visually ruin a good install. Align doors for even reveals; adjust concealed hinges or slot screw holes slightly to correct gaps. For drawers, set runners so drawers glide without rubbing; adjust soft-close dampers if present.
Common Mistakes
- Ignoring uneven walls — leads to warped fronts.
- Over-tightening screws — distorts carcass.
- Rushing door alignment — results in uneven reveals.
Tools & Materials (basics)
Measuring tape, spirit level, drill, screw set, shims, stud-finder, clamps, hinge jig (for repeatable holes).
Maintenance
Tighten loose screws annually, lubricate runners, and check seals near sinks. Small adjustments often prevent bigger repairs later.


